
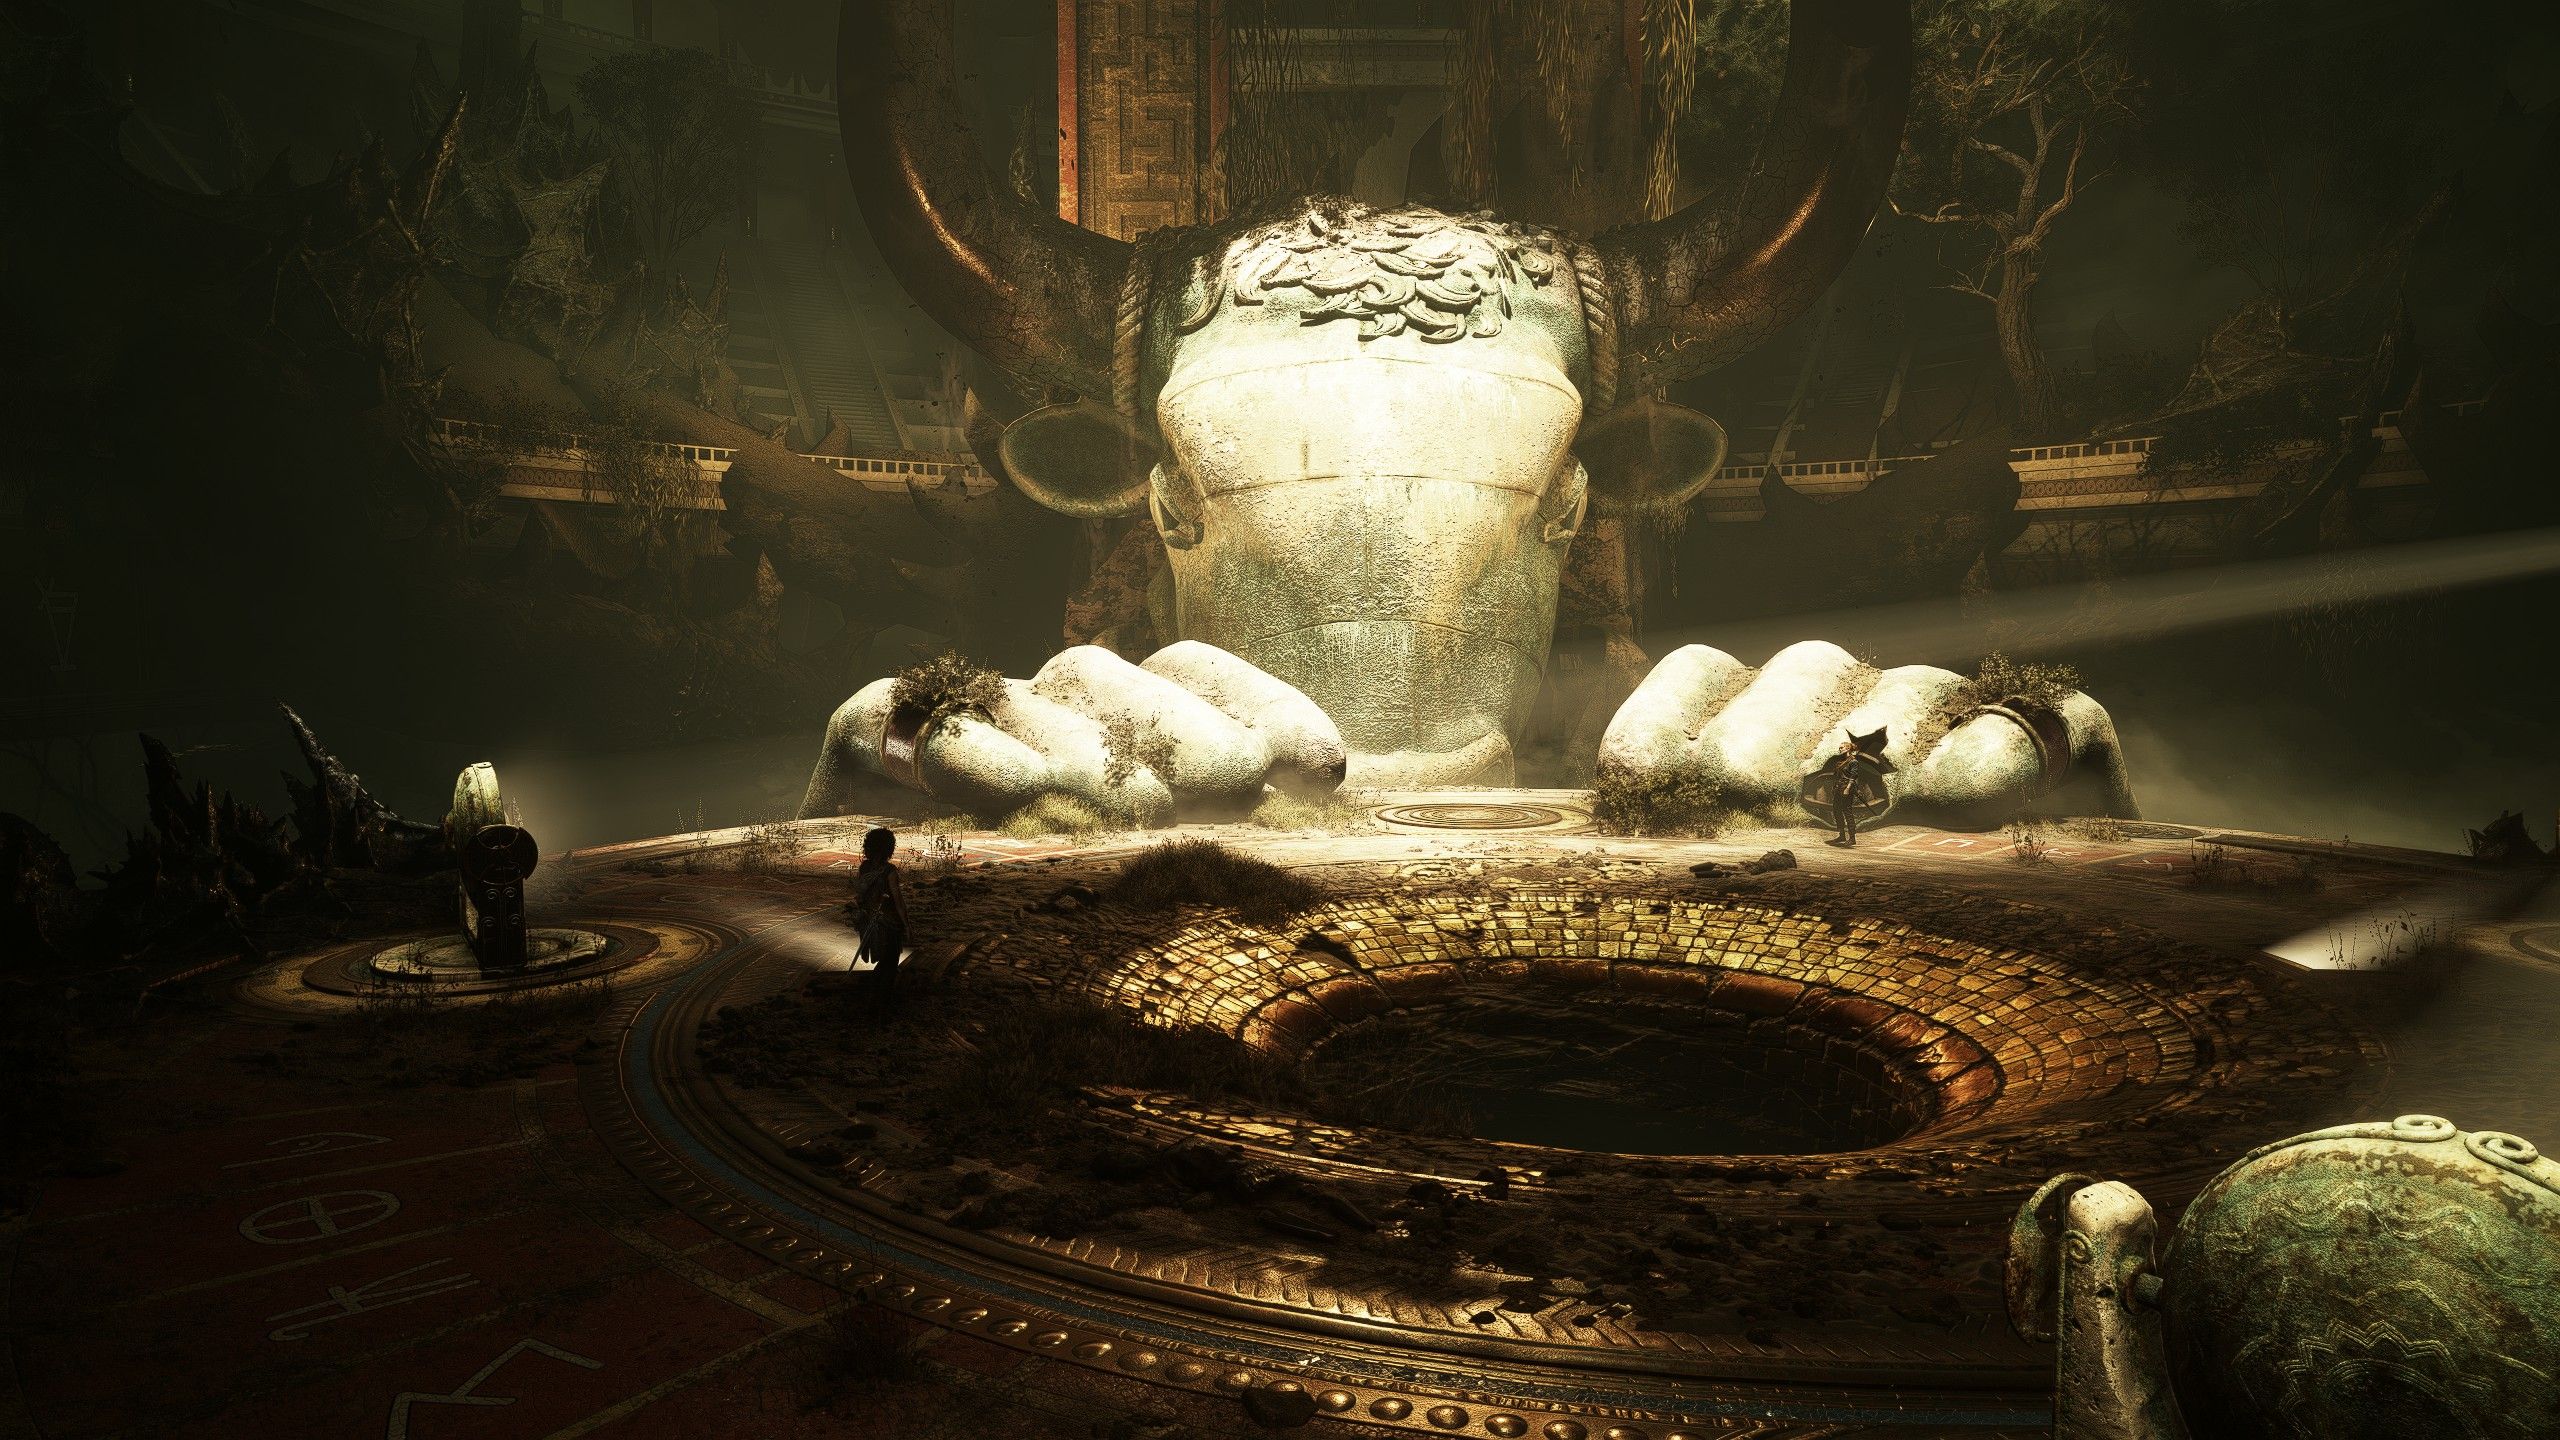
If you've been running on a steady pace through the earlier chapters of Resonance: A Plague Tale Legacy, chances are that's going to slowly dwindle down with some of the puzzles in Chapter 4. Not long after you solved the maze light symbols for that one door, Sophia and Leni soon come across a larger-than-life arena that Theseus once battled in, and the giant Minotaur structure is your key to continuing forward in the main story.
Like what the game has introduced so far, this puzzle uses cryptic mystical symbols and light-ray panels to help you move the giant statue in front of our two characters. With this guide, I'll take you step-by-step on how you can easily solve the Minotaur symbols puzzle in Resonance: A Plague Tale Legacy.

Before we begin, make sure to properly roam around the arena here just so you can trigger Sophia's instance of jotting down the first two combinations of symbols in her journal. The surrounding arena has four corners of the wall engraved with five sets of symbols, some of which are missing; thankfully, even the missing ones are in Sophia's journal, so get comfortable with where each symbol is.
To solve the first half of the Minotaur Arena trial, you need to reflect the left and right panels of light rays on the dials to match two pairs of symbols. Ignore the middle blank panel for now; we'll use it shortly. Sophia's journal will show the two distinctive pairs of symbol combinations.


For the first one, I recommend grabbing the right light panel and pointing it in the top-left corner of the wall to the dial with a bell-like symbol, as shown above. Then rotate the left light panel and point it in the bottom-right corner; the correct symbol is the uppercase 'T', shown right next to the symbol that looks like a tree branch. If done correctly, this should trigger the Minotaur statue to move and bring its right hand onto the platform.

For the next pair, rotate the left light panel and point it at the symbol dial in the top-right corner that looks like a triangle, as I've shown above. On the other one, this symbol won't be visible on the wall, but with Sophia's journal, you can quickly look at which one is missing. Grab the right panel of light and turn it towards the top-left corner. Reflect the ray of light on the dial with the blank surface, the one that's sandwiched between the symbols that look like a reverse 3 and a cone, just as shown in the images.
This is where it gets tricky, and where the game tests your attention to environmental details. With both hands from the Minotaur on the platform, you'll need another pair of symbols to move the head and body toward your level. It won't be inscribed in Sophia's journal, and the clues aren't on the walls with the symbols themselves.
Instead, it's actually the Minotaur itself. If you notice where the statue's hands are positioned, you can spot the eye-marking panels on the floor next to the rings on each hand. Pull out the spherical orb, and in torch mode, you can spot the last two symbols engraved on both of the rings; one is a spike with three lines while the other looks like a lowercase 'N'.
سەرچاوەی فەرمی بە زمانی ئینگلیزی: https://hardcoregamer.com/resonance-a-plague-tale-legacy-minotaur-puzzle/