
To start the Maintenance Protocol quest in Control Resonant, players will have to progress through the game until they get the Zoe’s Briefing quest, where you have to meet Zoe in the Watchtower.
There, she will mention an alarm going off in the Oldest House, which starts the Maintenance Protocol quest. Here is a complete walkthrough for the quest, including how to find and fix all the bulbs in Underpass.


Track the quest in the log and Fast Travel to the Deeper Underpass door. If you look around, you will spot a wall you can use your Reach ability on. You will find a locked door with an intercom, and Dylan will report this in to Zoe. Once Dylan opens the door, make your way forward and deal with the enemies around the room.


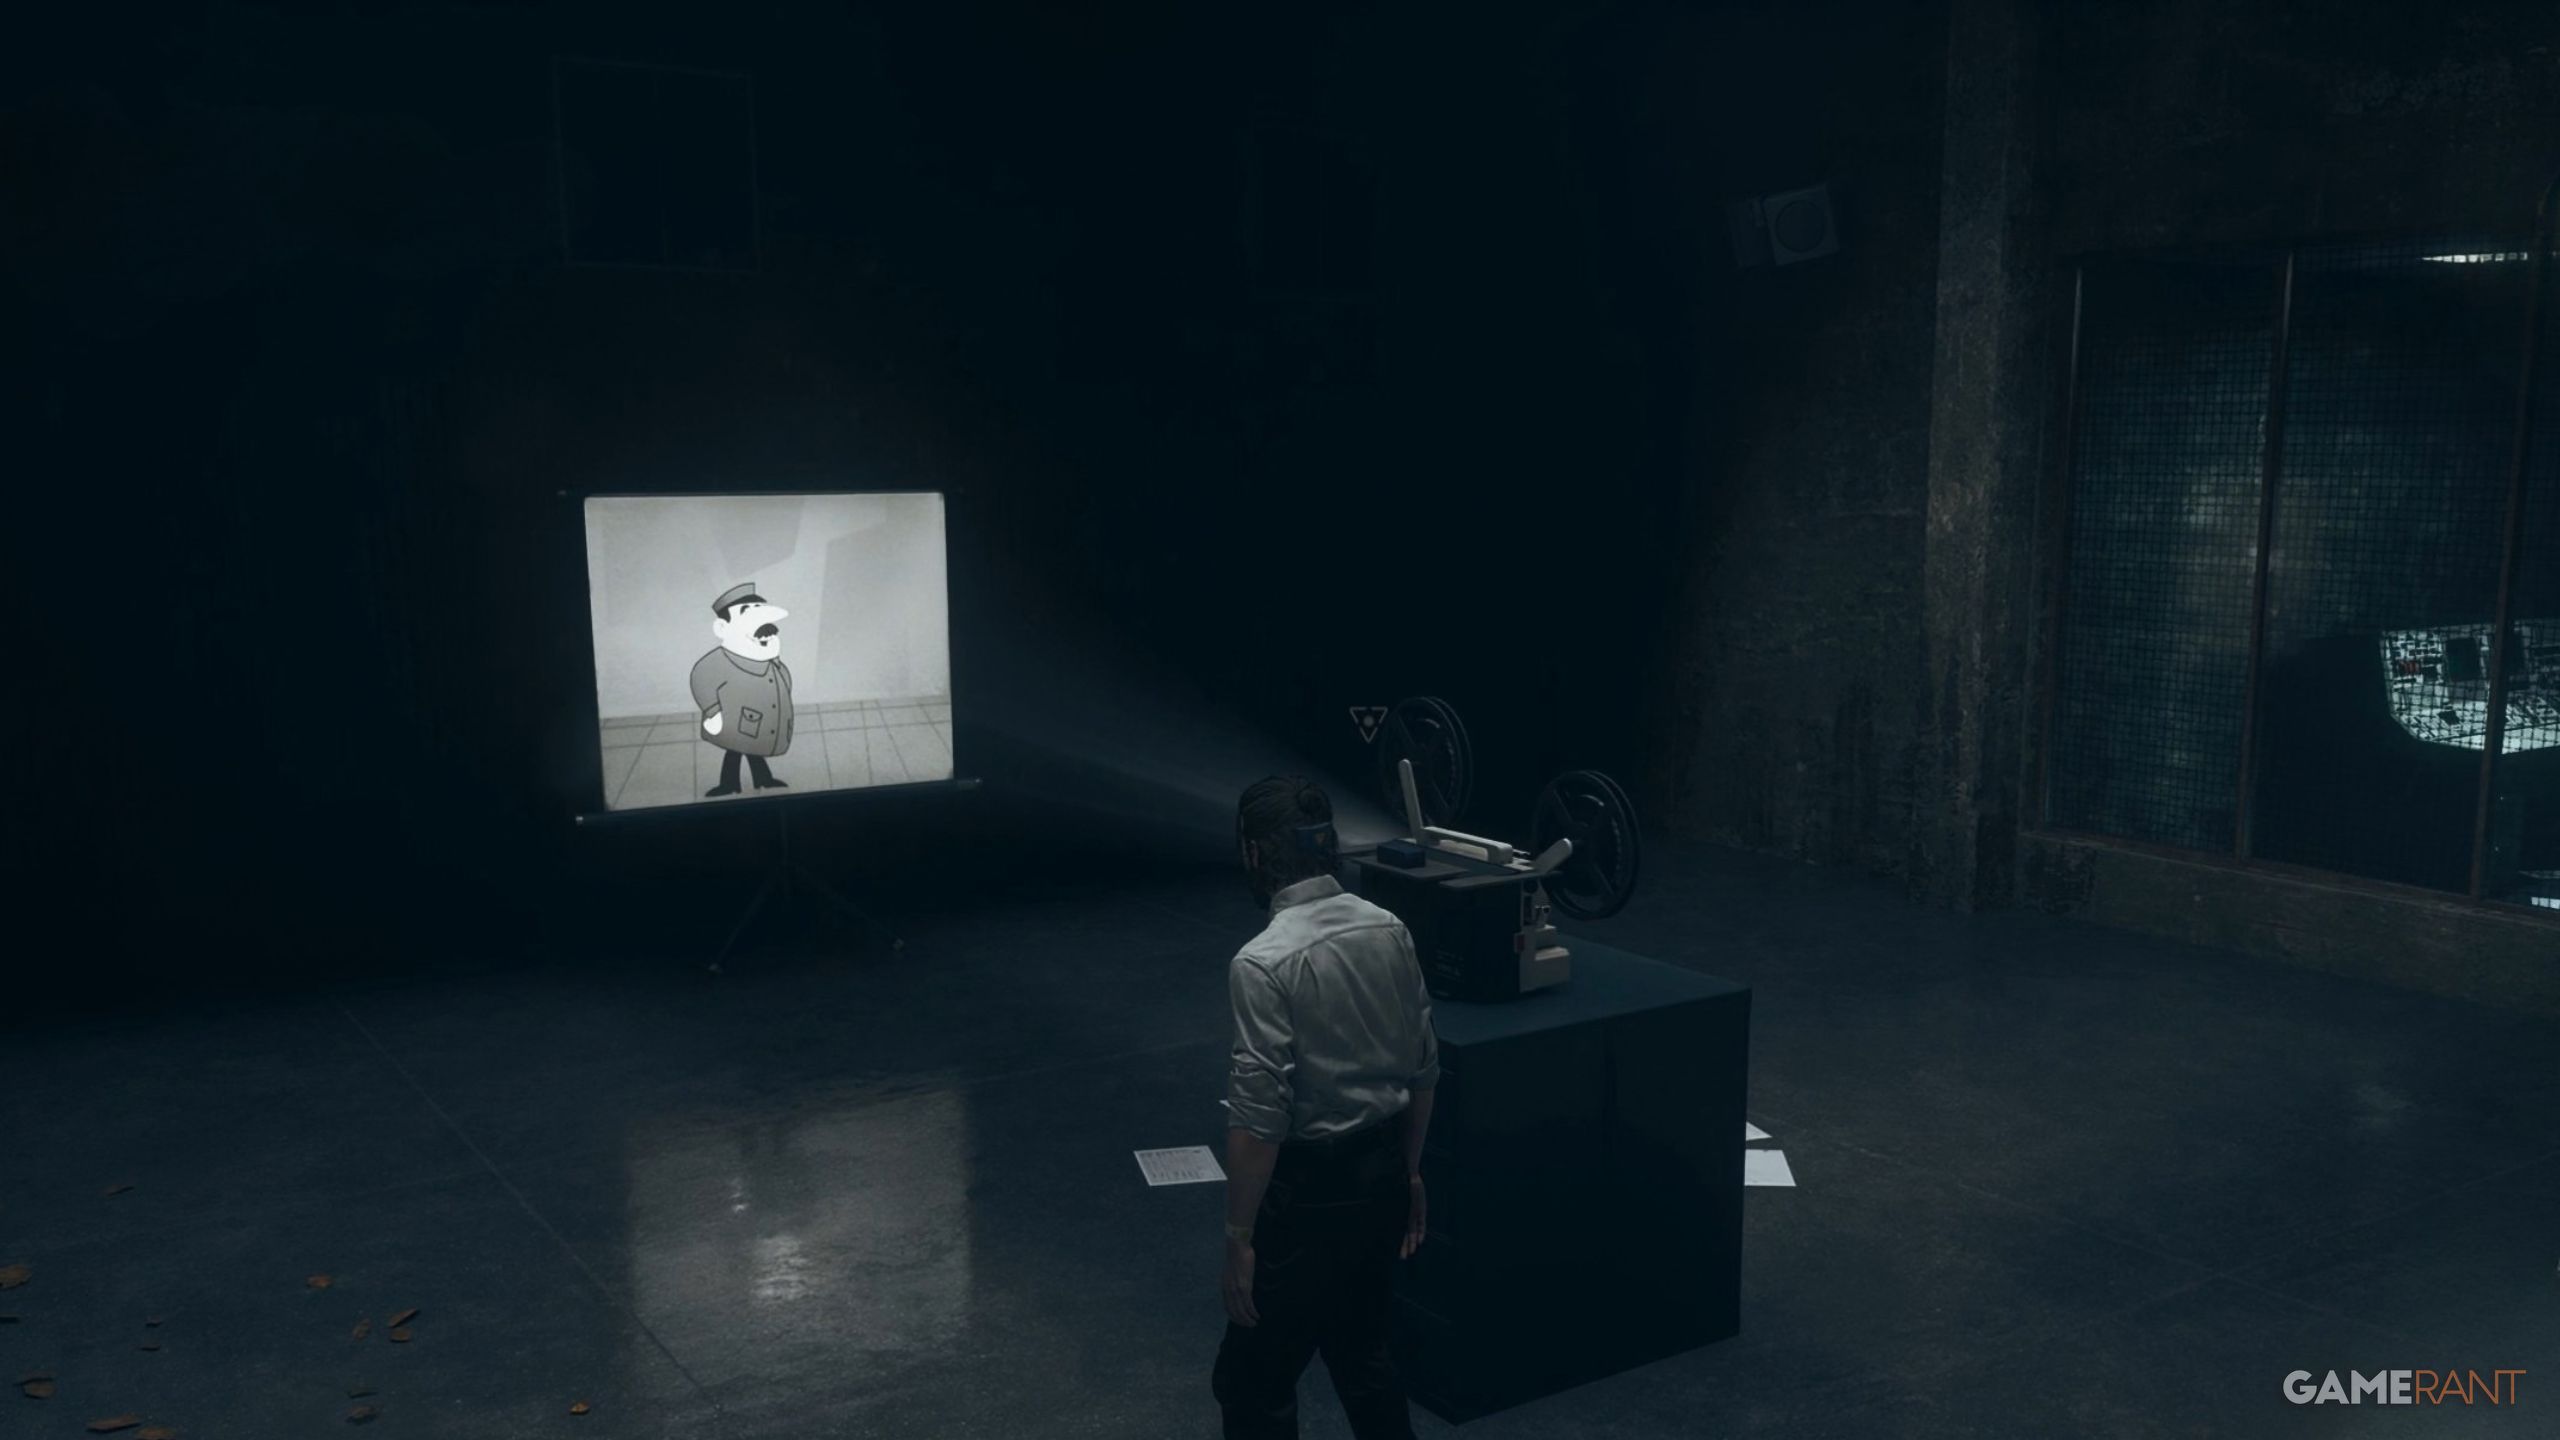
A blocked entrance to the right will open up, and you can go through this passageway to reach a staircase with a Power Upgrade in the room on the right upstairs. Go through the security gate and hear what the Maintenance employee has to say on the projector. Once the conversation is over, head into the room on the right to interact with the switchboard and reveal the locations of the bulbs.
Go back to the Fast Travel door and go to Halfway Trail. The first bulb is very close to your location, and you don’t need to go to a lower or upper level. Once you interact with this bulb, the maintenance worker will mention that the bulb is very sensitive, so you need to make sure it doesn’t panic.
Talk to the bulb and select the “You’re okay” option. A bunch of enemies will show up, and you will need to make sure you are replying to the bulb and keeping it calm while dealing with the Hiss enemies using your Aberrant weapon.
Once the enemies are dealt with, you will get another choice, and you need to select “You deserve to be fixed.” This will calm down the light bulb, allowing you to fix it.
Now you need to go to the other two bulbs, but you don’t need to use a Fast Travel door since the one you are at is the closest. One of these is near the research site, so go there to find the second bulb, which doesn’t like being around power sources.
سەرچاوەی فەرمی بە زمانی ئینگلیزی: https://gamerant.com/control-resonant-how-fix-all-bulbs-maintenance-protocol-quest/